How to Make Homemade Dog Treats
Many dog owners want healthier options for their pets, and that’s why learning how to make homemade dog treats has become increasingly popular. Store-bought treats can sometimes contain preservatives, artificial flavors, or ingredients that are difficult to pronounce.
Making treats at home allows you to control exactly what goes into your dog’s snacks. You can use simple, natural ingredients and adjust recipes to fit your dog’s dietary needs.
Homemade dog treats are also surprisingly easy to prepare. With just a few basic ingredients and simple kitchen tools, you can create delicious snacks that your dog will love.
In this guide, you’ll learn:
- how to make homemade dog treats step by step
- safe ingredients for dog snacks
- simple dog treat recipes
- tips for storing homemade treats
- helpful kitchen tools that make treat preparation easier
Making your own dog treats is a fun way to bond with your pet while providing healthier snack options.
Disclosure: As Amazon Associates, we earn from qualifying purchases at no extra cost to you.
Why Many Dog Owners Make Homemade Treats
Before learning how to make homemade dog treats, it helps to understand why many pet owners prefer making treats themselves.
Homemade treats offer several advantages.
Benefits include:
- control over ingredients
- fewer artificial additives
- ability to adjust recipes for allergies
- fresher snacks
- cost savings over time
Some dogs have sensitivities to common ingredients found in commercial treats. Homemade options allow owners to avoid those ingredients.
In addition, many dogs simply enjoy the fresh taste of homemade snacks.
Safe Ingredients for Homemade Dog Treats
Not all human foods are safe for dogs, so choosing the right ingredients is essential.
Safe and commonly used ingredients include:
- peanut butter (xylitol-free)
- pumpkin puree
- oats
- plain yogurt
- eggs
- carrots
- sweet potatoes
- bananas
These ingredients provide natural flavors while offering nutritional benefits.
Avoid ingredients such as:
- chocolate
- grapes
- onions
- garlic
- artificial sweeteners
Always double-check that ingredients are safe for dogs before preparing treats.
How to Make Homemade Dog Treats (Step-by-Step Guide)
Learning how to make homemade dog treats is simple and requires only a few kitchen steps.
Step 1: Choose a Simple Recipe
Start with a basic recipe that uses a small number of ingredients.
One easy recipe includes:
- 1 cup pumpkin puree
- 2 cups oat flour
- 1 egg
- 2 tablespoons peanut butter
These ingredients create soft, flavorful treats that most dogs enjoy.
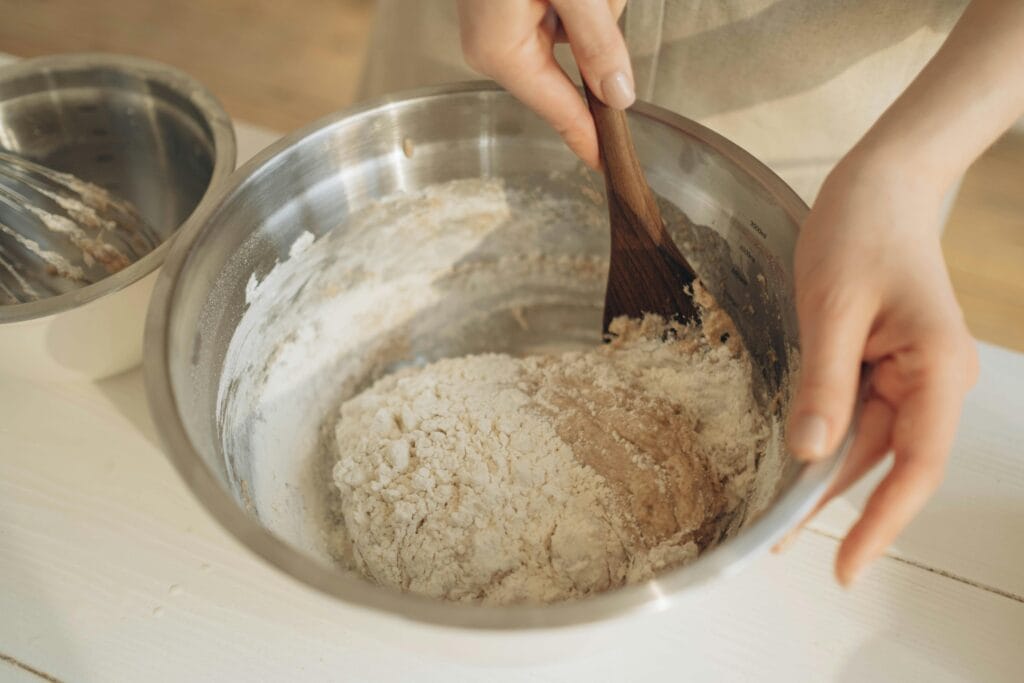
Step 2: Mix the Ingredients
Place all ingredients into a mixing bowl and combine them until a dough forms.
If the mixture feels too dry, add a small amount of water.
If it feels sticky, add a little extra flour.
The goal is to create dough that is easy to shape.
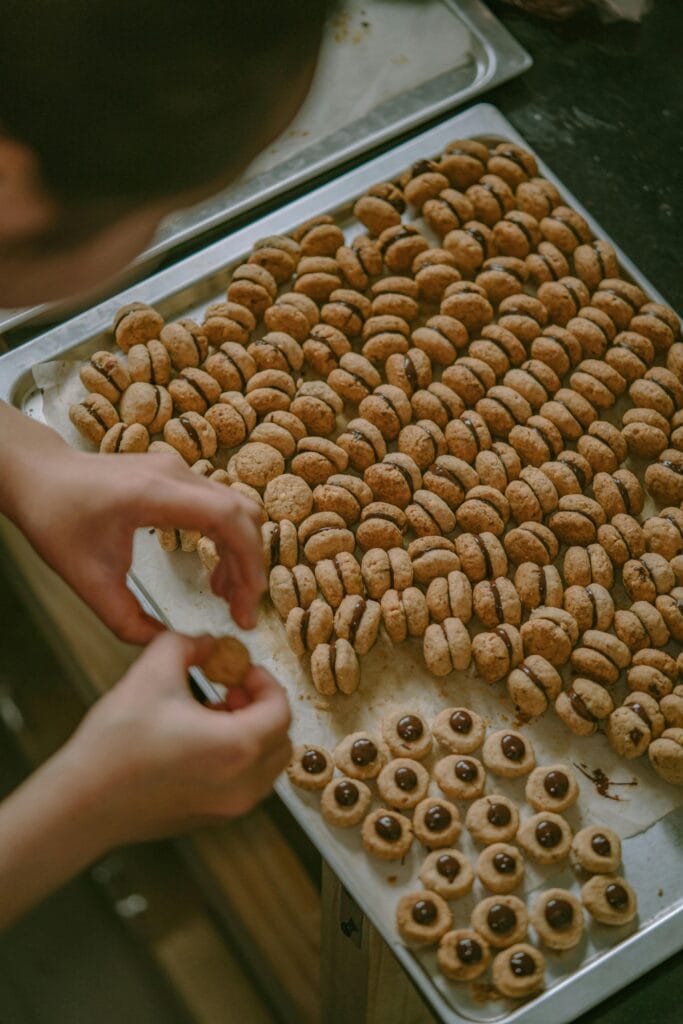
Step 3: Shape the Treats
Once the dough is ready, shape the treats.
You can:
- roll small balls by hand
- flatten them with a fork
- use cookie cutters for fun shapes
Keeping treats small makes them easier for dogs to eat.
Step 4: Bake the Treats
Preheat your oven to 350°F (175°C).
Place treats on a baking sheet lined with parchment paper.
Bake for about 15–20 minutes, depending on thickness.
Treats should be slightly firm when finished.
Step 5: Allow Treats to Cool
Before giving treats to your dog, allow them to cool completely.
Cooling helps them firm up and makes them safer for your dog to eat.
Once cooled, the treats are ready to serve.
Step 6: Store Homemade Treats Properly
Homemade dog treats typically contain fewer preservatives than store-bought options.
For freshness:
- store treats in an airtight container
- keep them in the refrigerator
- use within one to two weeks
Some treats can also be frozen for longer storage.
Helpful Products for Making Dog Treats
This article contains affiliate links. As an Amazon Associate, we earn from qualifying purchases.
A few simple kitchen tools can make homemade dog treats easier to prepare.
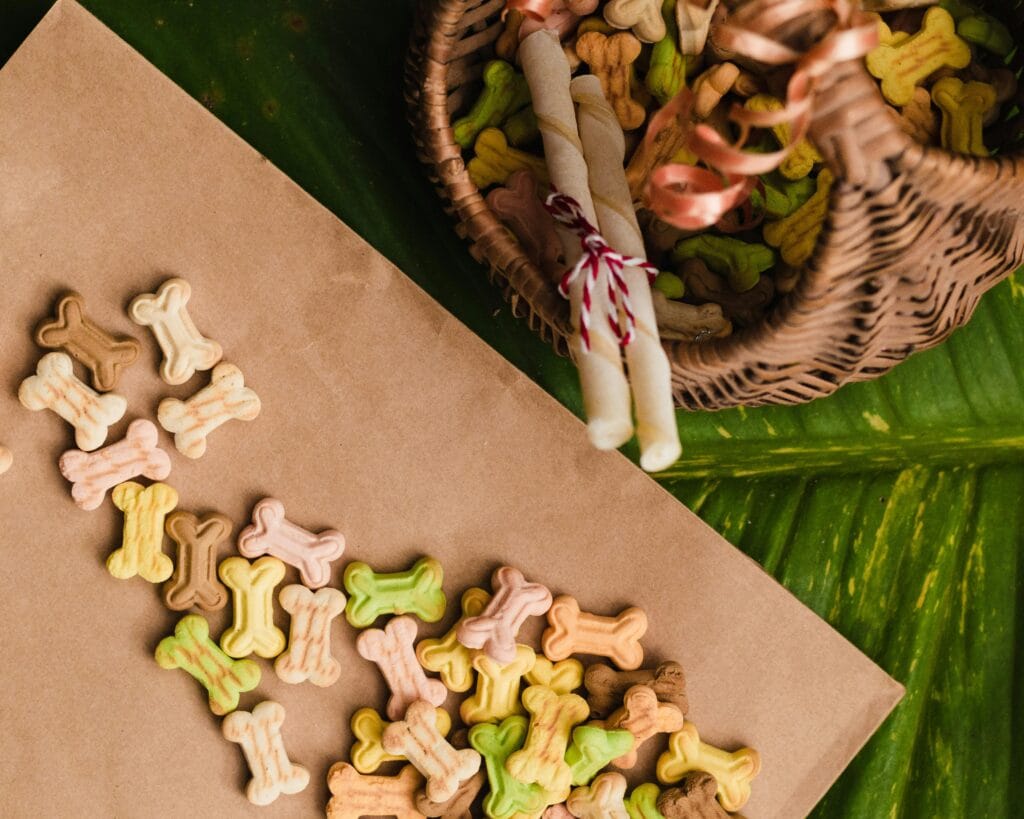
Silicone Dog Treat Mold
A silicone dog treat mold allows you to bake perfectly shaped treats.
Benefits include:
- easy portion control
- fun bone-shaped designs
- simple cleanup
Non-Stick Baking Mats
A non-stick baking mat prevents treats from sticking to baking trays.
Benefits include:
- easier baking
- reduced cleanup
- reusable surface
Airtight Storage Container
An airtight container helps keep homemade treats fresh.
Benefits include:
- longer shelf life
- protection from moisture
- organized storage
Dog Puzzle Toy
A dog puzzle toy can be used with homemade treats.
Benefits include:
- mental stimulation
- slower treat consumption
- reducing boredom
Practical Tips for Making Dog Treats
These simple tips help ensure your treats are safe and enjoyable.
Use Simple Ingredients
Short ingredient lists are usually best.
Avoid unnecessary additives.
Keep Treat Sizes Small
Smaller treats are healthier and easier to use during training.
Introduce New Treats Slowly
Whenever introducing new foods, start with small portions to ensure your dog tolerates them well.
Store Treats Properly
Homemade treats spoil faster than store-bought versions.
Proper storage keeps them fresh.
Common Mistakes When Making Homemade Dog Treats
Avoiding these mistakes helps ensure treats are safe for your dog.
Using Unsafe Ingredients
Always check that ingredients are safe for dogs.
Some foods that are safe for humans can be dangerous for dogs.
Adding Too Much Sugar or Salt
Dogs do not need added sugar or salt in their treats.
Natural flavors are enough.
Making Treats Too Large
Large treats may add too many calories.
Smaller portions are better.
Overfeeding Treats
Treats should only make up a small portion of your dog’s daily calories.
Conclusion
Learning how to make homemade dog treats is a simple and rewarding way to provide healthier snacks for your pet. By using natural ingredients and avoiding unnecessary additives, you can create treats that are both safe and delicious.
Homemade treats also allow you to customize recipes based on your dog’s preferences and dietary needs.
With basic ingredients, simple recipes, and a few helpful kitchen tools, you can prepare fresh dog treats that your pet will love.
Making treats at home not only improves your dog’s diet but also creates a fun bonding experience between you and your pet.
FAQ
Are homemade dog treats healthier than store-bought ones?
They can be healthier because you control the ingredients and avoid artificial additives.
How long do homemade dog treats last?
Most homemade treats last about one to two weeks in the refrigerator.
Can I freeze homemade dog treats?
Yes. Freezing treats can extend their shelf life for several months.
What flour is best for homemade dog treats?
Oat flour and whole wheat flour are commonly used in dog treat recipes.
Can dogs eat peanut butter in treats?
Yes, but make sure the peanut butter does not contain xylitol, which is toxic to dogs.
You may also like: